Arduino IDE-How to Write Program on the Arduino Board

This article details how to write programs to an Arduino board with the Arduino IDE.
Preparation for Program Writing
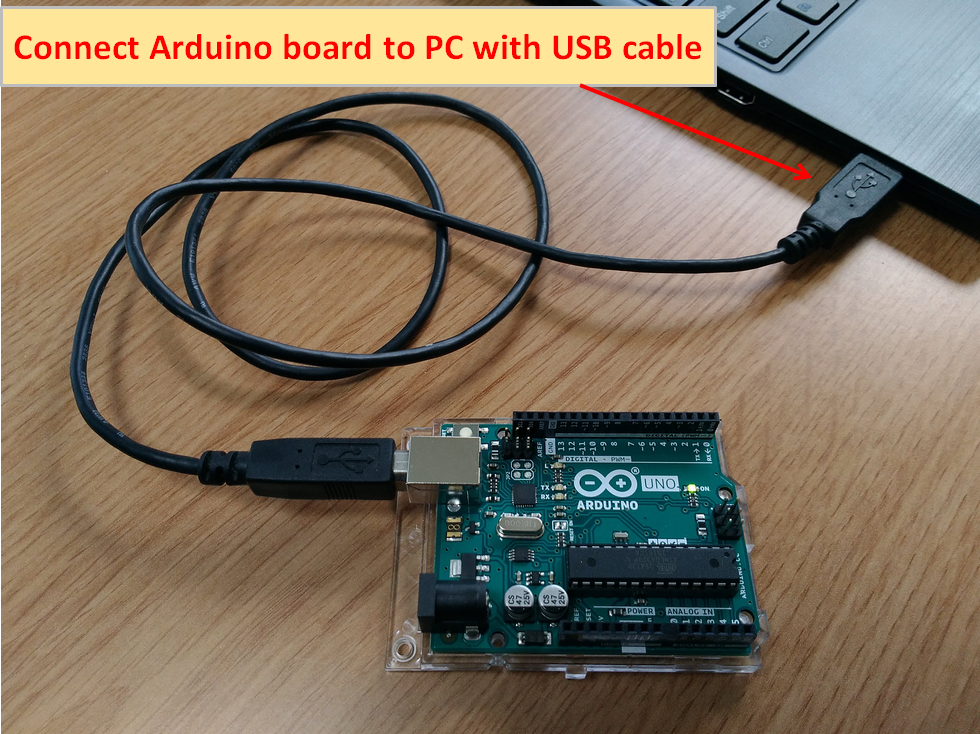
Connect the Arduino board(Arduino Uno) to the PC using the Arduino IDE with a USB cable.
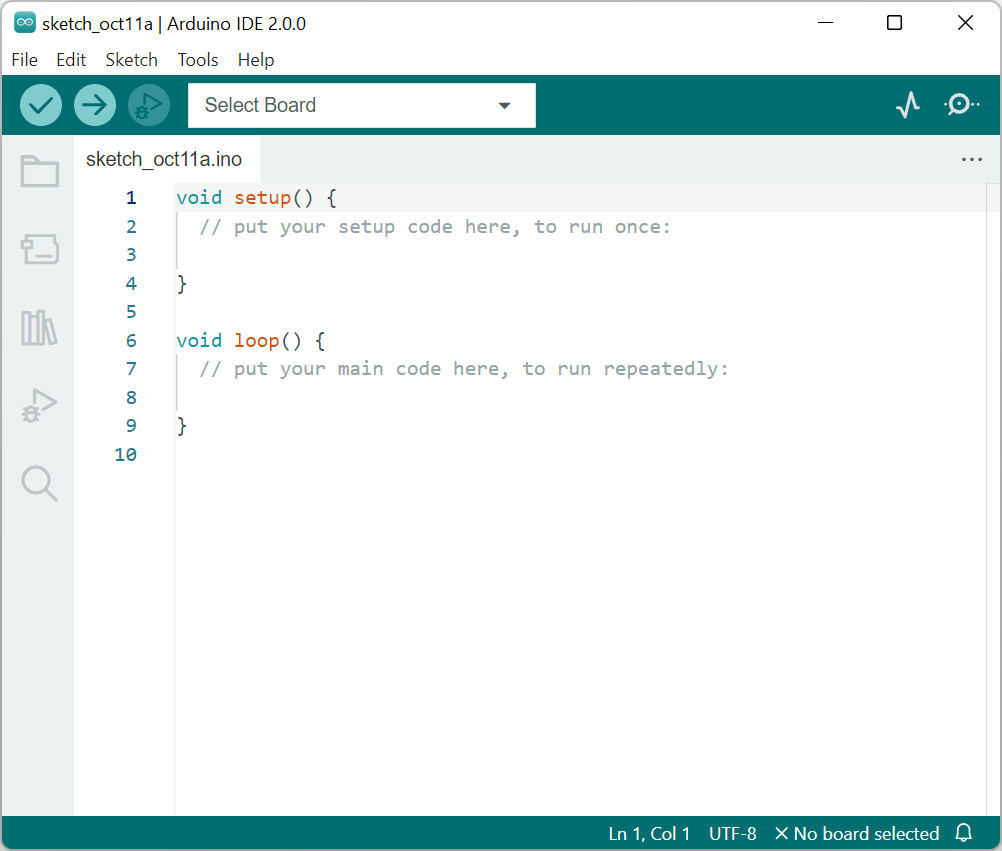
Start the Arduino IDE.
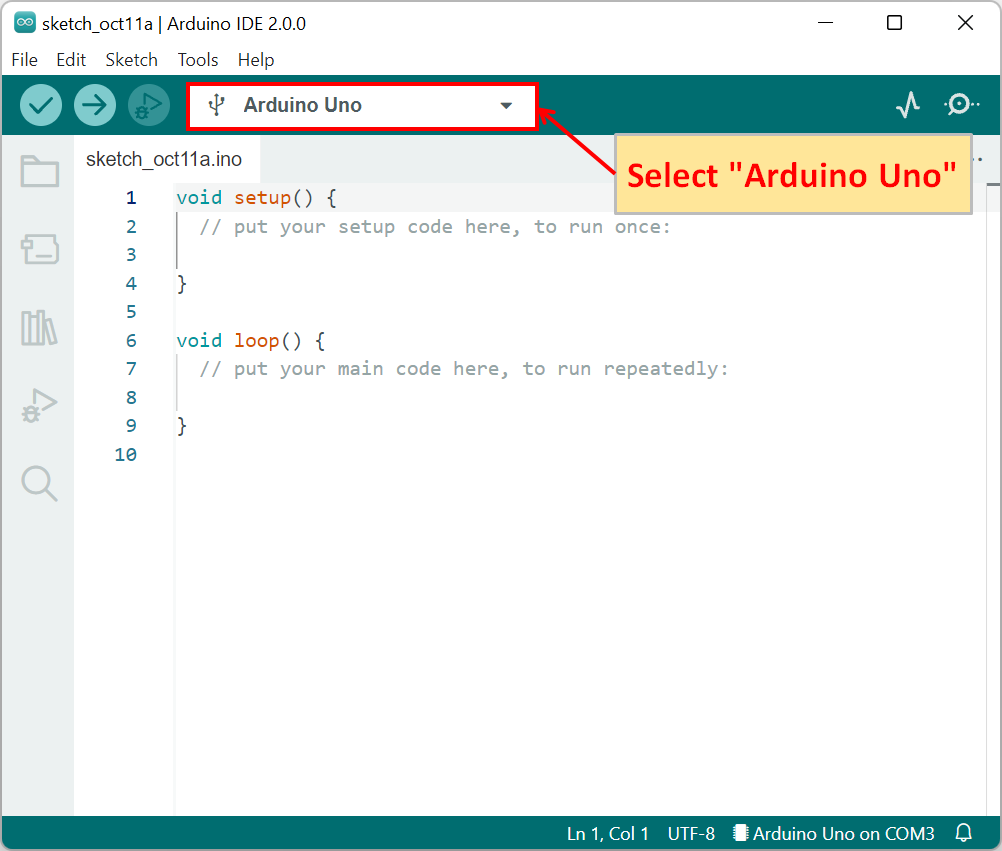
Select the Arduino board for writing the program. so select "Arduino Uno".
(The port is automatically selected.)
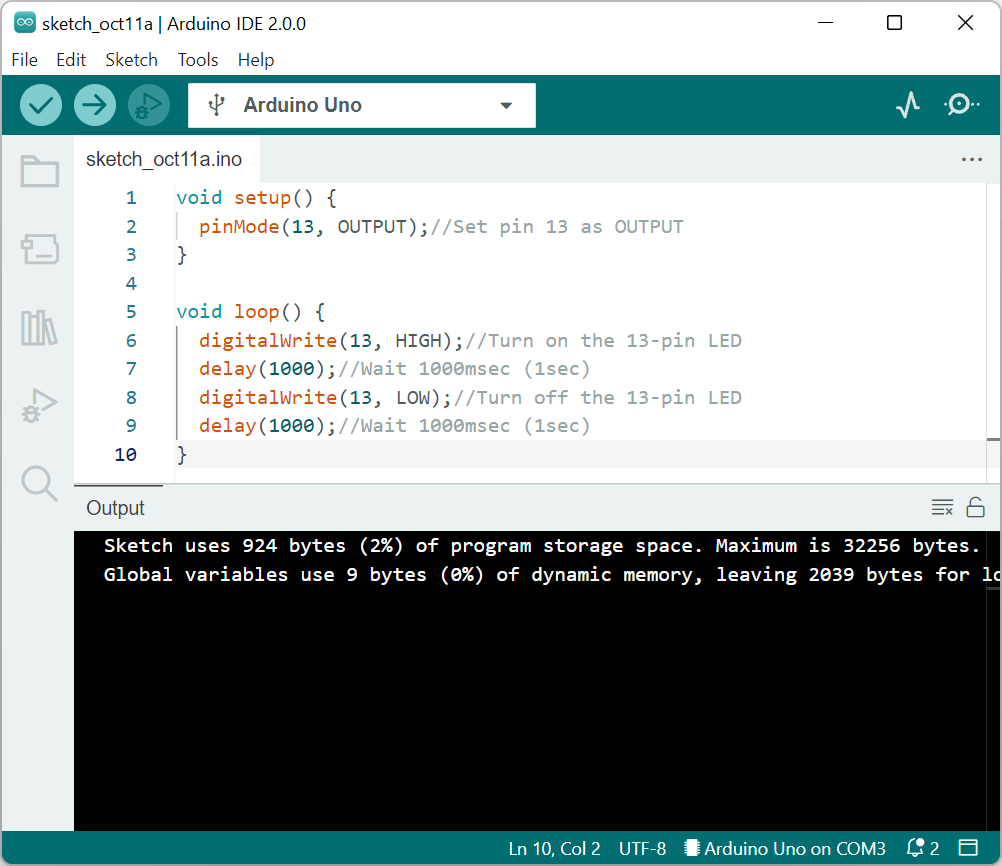
Create a simple program for writing.
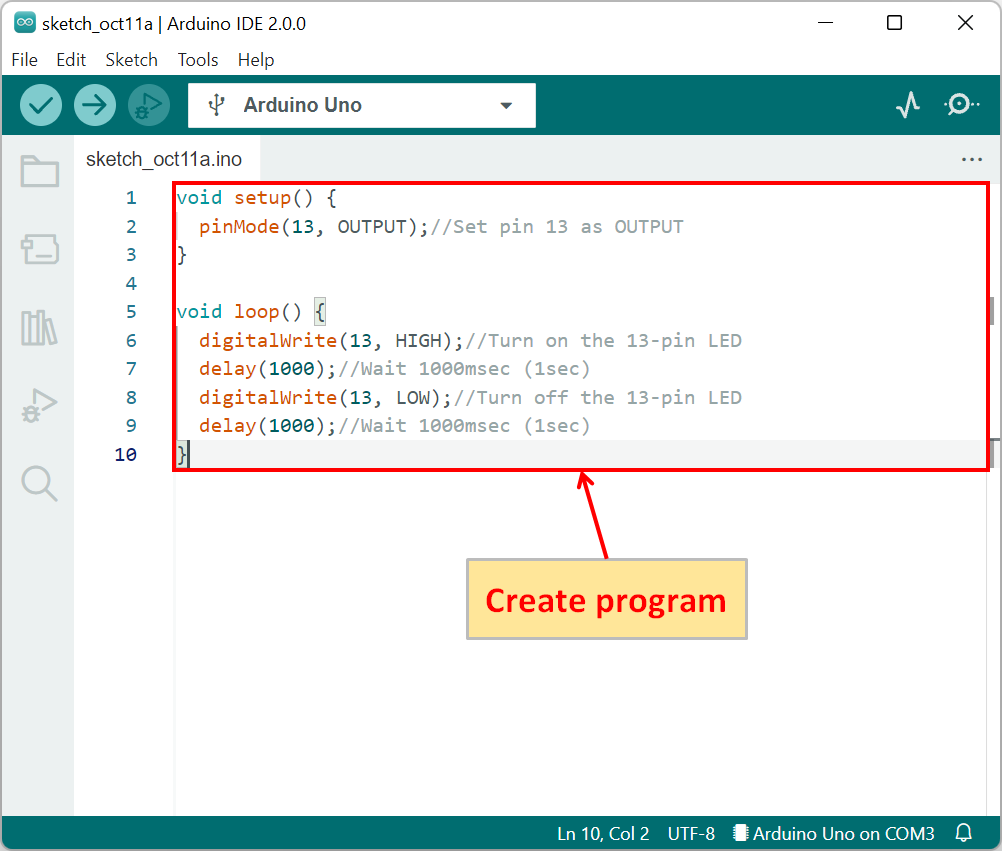
void setup() {
  pinMode(13, OUTPUT);//Set pin 13 as OUTPUT
}

void loop() {
  digitalWrite(13, HIGH);//Turn on the 13-pin LED
  delay(1000);//Wait 1000msec (1sec)
  digitalWrite(13, LOW);//Turn off the 13-pin LED
  delay(1000);//Wait 1000msec (1sec)
}
Copy and paste the above program into the edit area of the Arduino IDE.
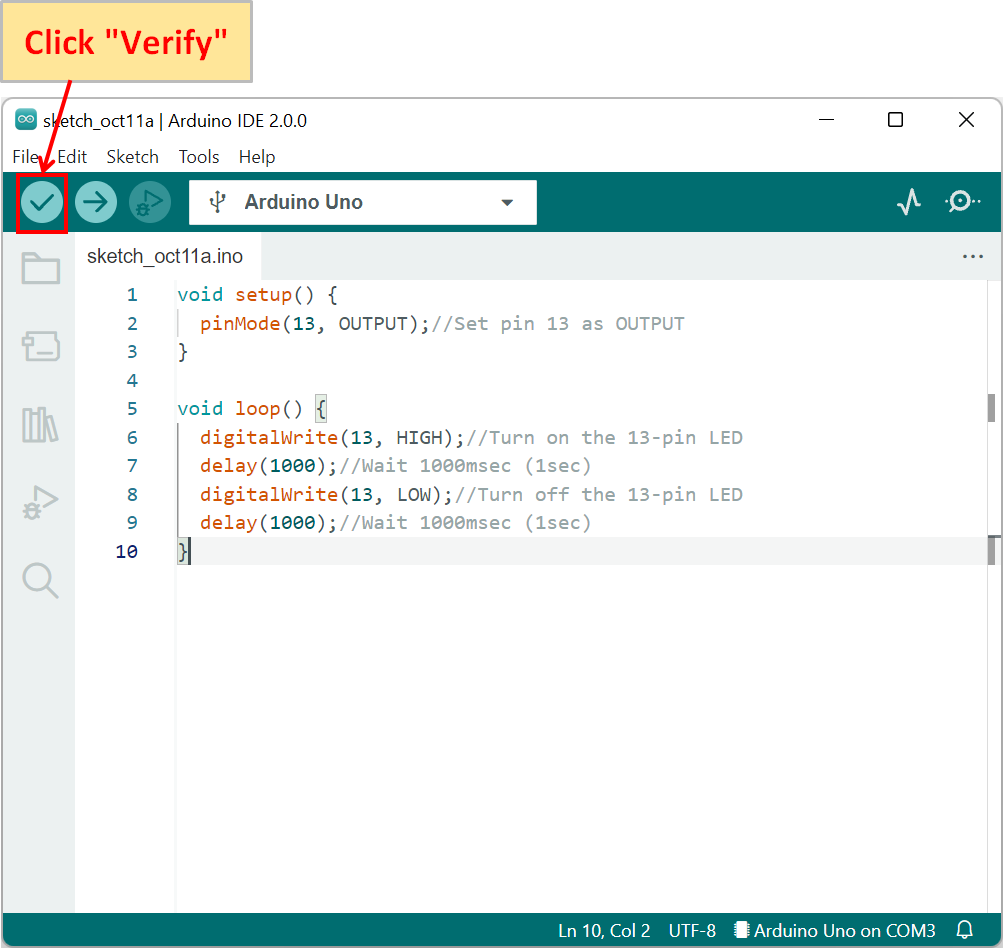
After the program is complete, click "Verify".

If the program is correct, compilation is complete. This completes the preparation to write the program.
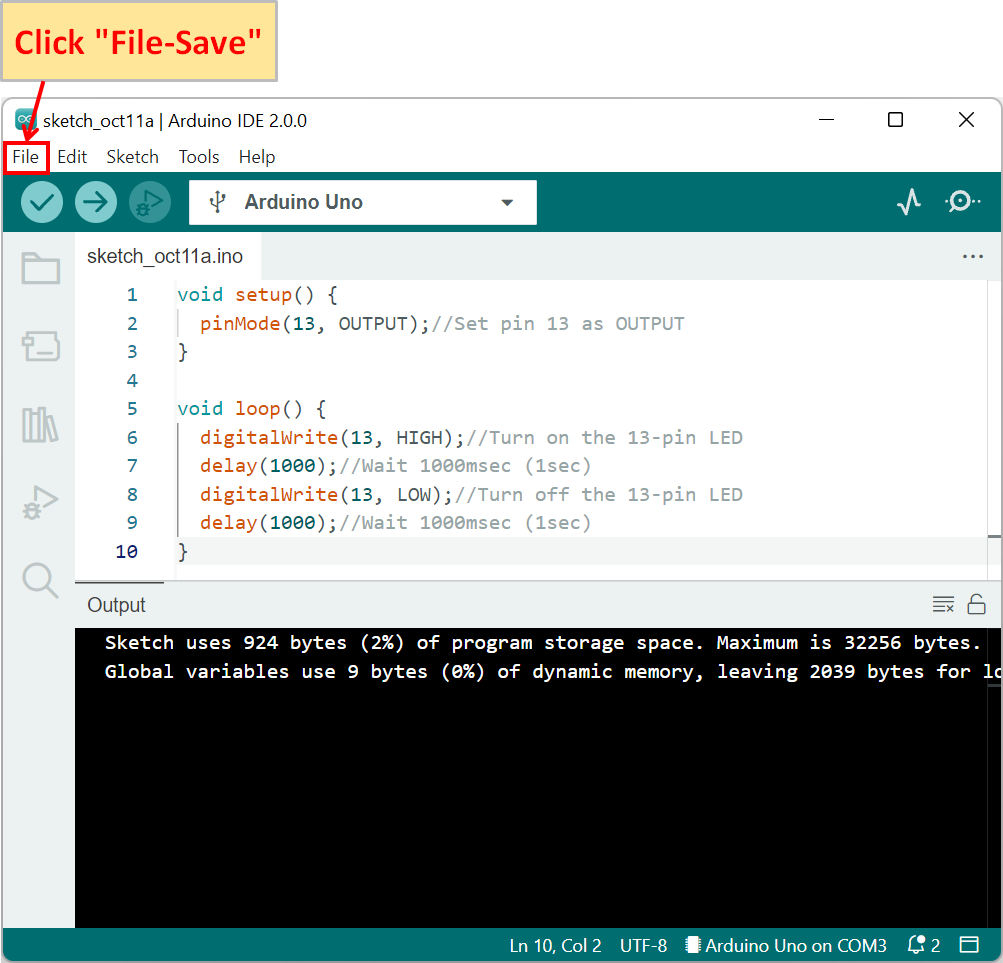
After compilation is complete, save the program. so click "File-Save"
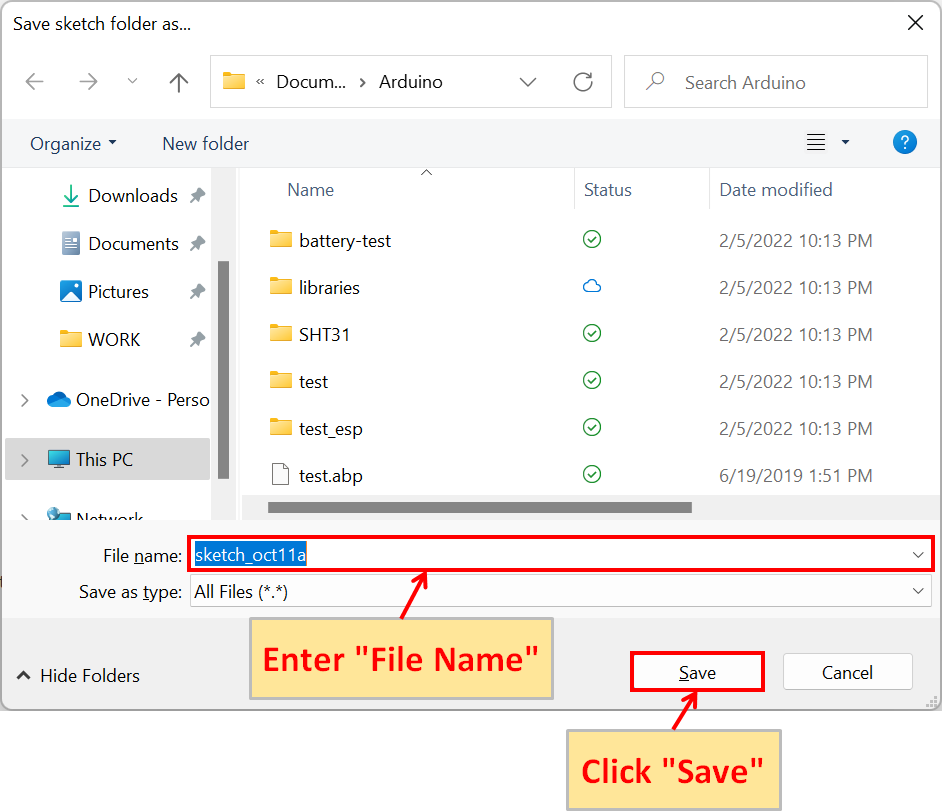
Enter "File Name" and click "Save".
Program Writing
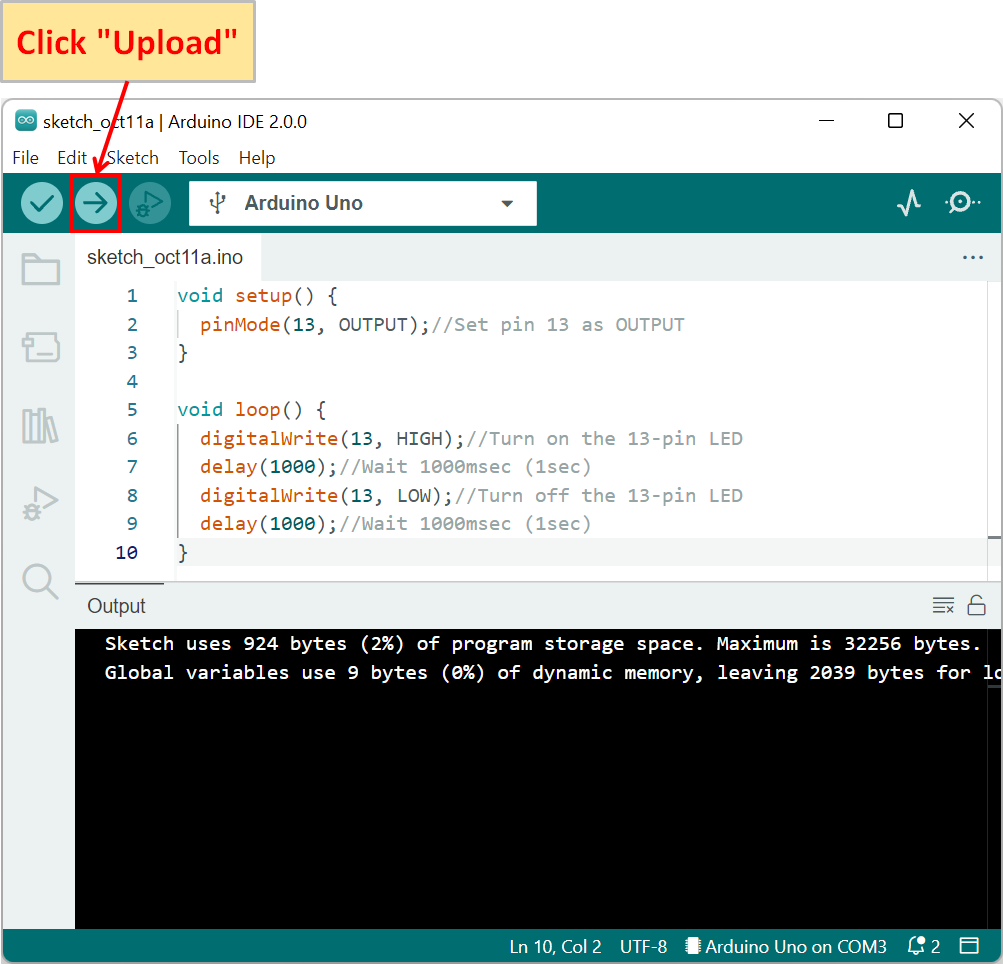
Click "Upload" for writing the program to the Arduino board.
If the program writes without any problems, the message "Done uploading." is displayed and the LED on the Arduino Uno blinks at one-second intervals.
Each time you change the program on the Arduino board, you must write the program to the Arduino board.
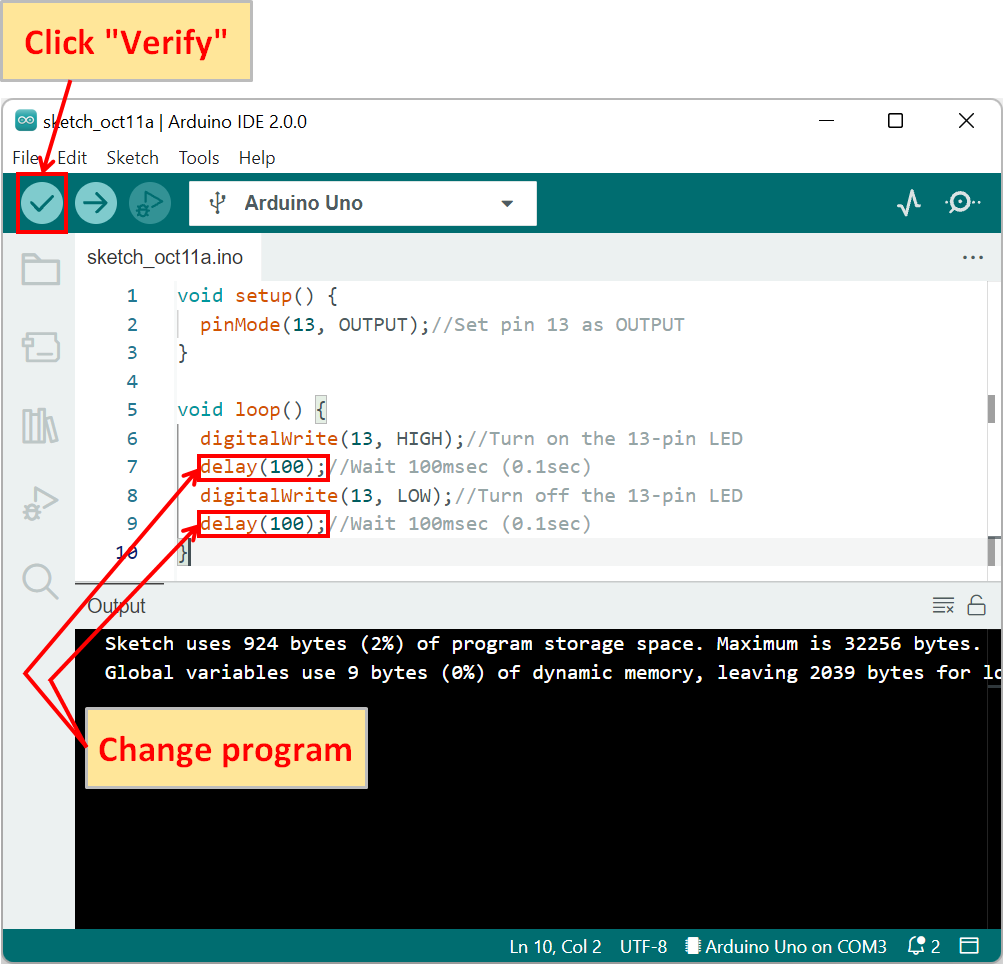
For example, change the program from "delay(1000);" to "delay(100);" as shown above and click "Verify".

After modifying the program, click "Upload". Now the LED on the Arduino Uno will blink at 0.1 second intervals.